How to Make a Receipt Online in 4 Steps

Robert Brooks
Tech Writer
Jump to Section
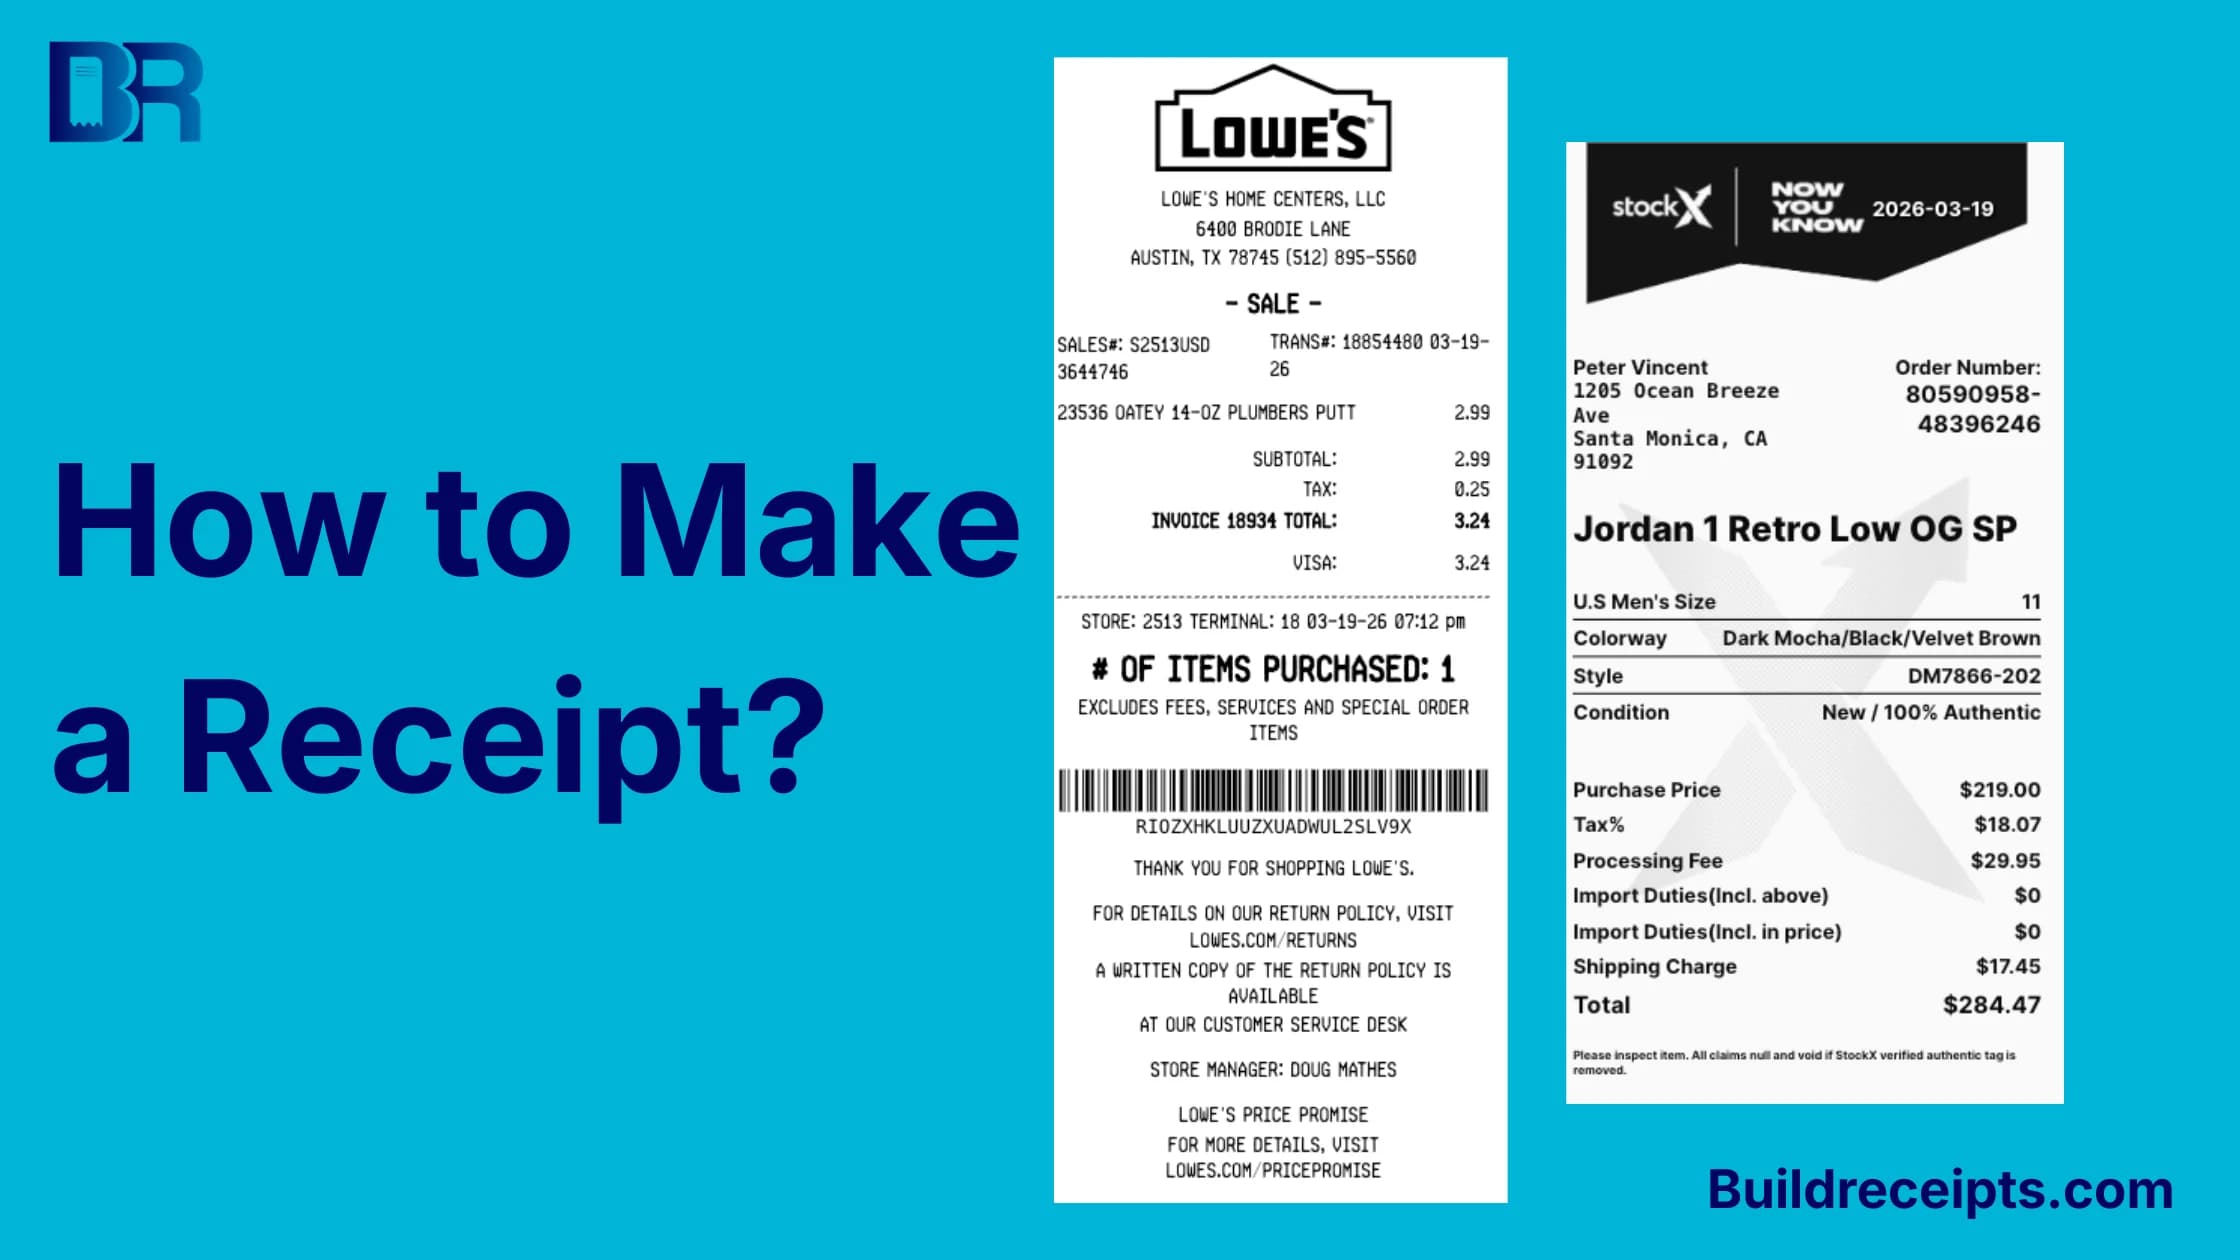
To make a receipt online, choose a layout, enter the real sale details, check the totals and payment status, then save a copy. Send it to the buyer only after you have checked the file.
This guide covers the online workflow for a sale you made. If you need a lost store receipt, ask the store for its own copy instead. A custom file cannot replace official proof of purchase.
Before You Start
Start with the order, invoice, and payment record beside you. Choose a format that fits your sale, not another store's identity. You can choose a receipt template in BuildReceipts, then use the checks below before saving it.
What Information Goes on a Receipt?
Have the seller name, payment date, receipt number, items, quantities, prices, tax or fees, amount received, payment method, and balance ready. Add buyer details when needed. Do not enter full card numbers or security codes.
Not sure how to word a field? Check what to write in each field before you start. Do not guess missing facts just to fill a blank.
Make a Receipt in 4 Steps
Step 1: Choose a Format for Your Sale
Pick a layout that fits the work or goods you sold. Check that it has space for the fields your sale needs. Use your own business details, not the name or logo of an unrelated store.
Step 2: Fill In the Real Sale Details
Add the seller, receipt number, payment date, and buyer if needed. Enter each item, quantity, and price. Add only the tax, discount, tip, or fee that applies. Match the payment method to the source record.
Step 3: Check the Preview and Totals
Read the preview line by line. Check the names, date, item totals, tax, and amount received. Show a deposit and balance separately. Write Paid in full only when that is true. Remove all sample names and amounts.
Step 4: Save the File and Keep a Copy
Use the available download option. If PDF is offered for your chosen format and plan, save it, then open the file to check that every line fits. Check any price or account requirement before you confirm an export. Keep a copy with the sale and payment record.
When Another Method Fits Better
If the sale is already in a POS or accounting system, issue the receipt there so the record stays linked to the payment. For occasional work, a Word or Excel template may also fit. This guide focuses on the online maker route.
Need help choosing a method first? Compare receipt formats and checks rather than creating a second file for a payment your system already recorded.
Completed Receipt Example
Illustrative example, not a real customer record: North Studio receives a bank transfer from Example Client on September 18, 2026. Receipt REC-1042 covers one design service and two print jobs. The sample assumes both charges are taxable at 8% only to show the math. Actual tax rates and taxable services vary.
| Line | Calculation | Amount |
| Design service | 1 x $200.00 | $200.00 |
| Printing | 2 x $25.00 | $50.00 |
| Subtotal | $200.00 + $50.00 | $250.00 |
| Sales tax (illustrative 8%) | $250.00 x 0.08 | $20.00 |
| Total paid | $250.00 + $20.00 | $270.00 |
Payment method: Bank transfer. Amount received: $270.00. Balance due: $0.00. Status: Paid in full.
If the buyer had paid only $100, the receipt would show $100 received and $170 still due. It would not say $270 paid. This check matters as much as the layout.
Receipt vs. Invoice
An invoice lists charges and usually asks for payment. A receipt records money received. A clearly paid invoice may show both. Do not mark a receipt paid just because an invoice was sent.
How to Email the Receipt
These steps use your own email app. They do not require a built-in email feature in the receipt maker.
- Step 1: Open the saved file and check the payment details.
- Step 2: Start a message to the buyer and confirm the email address.
- Step 3: Attach the receipt. Use a subject such as "Receipt REC-1042 for your design work."
- Step 4: Open the attachment once more, send the message, and keep the sent copy.
Do not attach a full bank statement or private account details. Use a secure channel when the record contains sensitive information.
Common Receipt Mistakes
| Mistake | Better choice |
| Only listing a total | Name each item or service |
| Wrong payment date | Use the date the payment was received |
| Marking a deposit paid in full | Show amount received and balance due |
| Skipping a receipt number | Use a unique number you can search |
| Wrong math | Check line totals, tax, and payment |
| Using a store-style file as official proof | Request the real receipt from the seller |
Keep the Receipt With the Real Transaction Record
Store the receipt with the order, invoice, and payment record. Use a name such as 2026-09-18-REC-1042.pdf so you can find it later. Check that scans are clear and keep a backup.
A receipt template does not make a record legally valid or guarantee tax acceptance. The facts and the rules for the sale matter. For US business records, the IRS explains what supporting documents should show. Keep the source records rather than relying on a new layout alone.
Conclusion
A useful receipt is easy to read and matches a real payment. Name the sale, check the totals, show what was paid, and keep a copy. Choose the format that makes those facts clear.
Content updated September 25, 2026. Source checks and edits were AI-assisted. No new human or professional review is claimed.
Frequently Asked Questions
Have more questions about How to Make a Receipt Online in 4 Steps? Check out these common queries.